
How to install an epoxy coating on your floors
A typical floor application for most commercial and residential garage floors is epoxy flooring that provides an appealing and glossy appearance and secure traction. While epoxy may look like a simple coat of paint, it is much sturdier and tougher and developed with different substances and chemicals. While the benefits of epoxy flooring in Calgary are undeniable, as it offers durability and a compelling feature on any garage floor, the application can be much more complicated than applying paint on a surface area.
Find out how you can install an epoxy coating on your floors today and what is involved in enhancing and transforming your garage floor’s function and appearance.
What is epoxy?
Epoxy is resin-based paint that typically comes in two different portions needed to mix together. It can also come with decorative chips that can be utilized when applying the mixture to increase the appearance of your garage floor. These epoxy elements tend to be included in a kit that can be purchased by any homeowner, and whether the supplies are included depends on the kit you have obtained. Three types of epoxy flooring applications are available, including solid epoxy, solvent-base, and water-based epoxy. Before buying your epoxy kit, research these types of epoxy coatings and how they serve surface areas.
Preparation
Preparing to install your epoxy coating can include numerous steps. It would help if you first corrected any imperfections visible on your concrete floors, such as cracks and chips. Next, you’ll want to clean any build-up of debris off your concrete floor using a broom and vacuum. You’ll also want to remove grease stains that have emerged with a degreaser, rinse off the degreaser, and then wait for your concrete to dry before proceeding to the next step.

Mix the epoxy solution
After preparation, you should mix the two parts of the epoxy that came with your kit. This two-part mixture typically includes the hardener and the resin, or the paint, both of which must be mixed before you begin applying it. After pouring the paint into its designated container, stir it around with a paintbrush, and while stirring the paint, the hardener can be added in slowly and safely. Continue stirring until the hardener and paint are mixed thoroughly and properly. Find out how long you’re supposed to leave the newly stirred mixture before applying it on your floors.
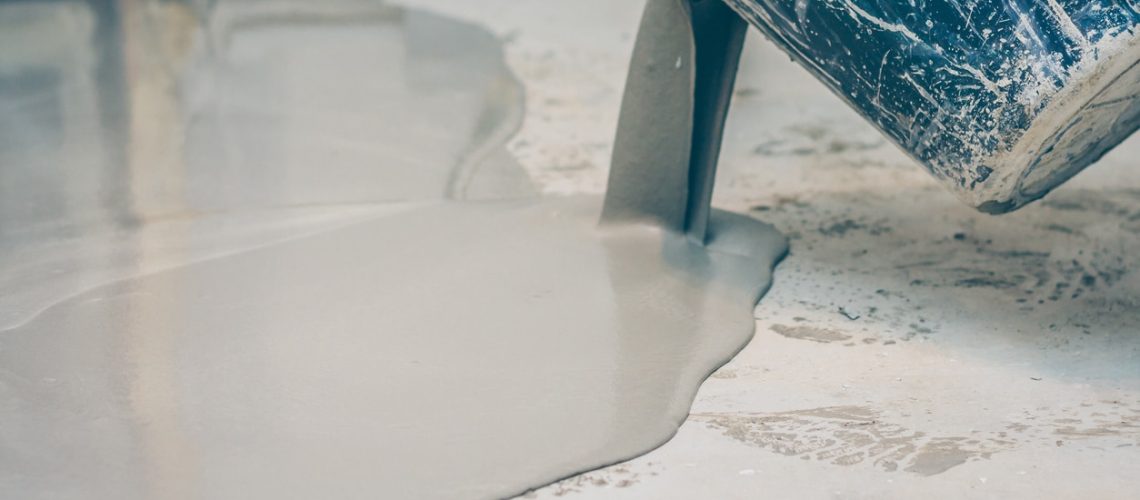
Applying epoxy
When the epoxy mix is set and ready, you can begin to apply the epoxy on the floor. The room in which you apply the epoxy should be well-ventilated, and you can install the epoxy with a 9-inch roller and spread the contents evenly on the floor. Depending on the square footage of the floor, the application could take a while and will require an extra hand to help if necessary. After applying the epoxy evenly on the floor, you can insert decorative flakes into the epoxy coating before it dries. Placing the flakes on the floor usually consists of tossing them up in the air and letting them fall placidly on the coating. Apply a second coat 12 hours after you have installed the first coat.
Drying and curing your floors
After the application, refrain from walking on the floors where the epoxy has been installed for at least 24 hours. You should also avoid driving over these floors for at least a week, as that is how long it takes for the epoxy flooring to cure and dry.
Ultra Coating Epoxy Flooring proudly provides our community of Calgary with a wide range of services that will enhance any piece of concrete by making it shine again! We want to amplify your home and business’s greatest strengths by offering professional services to refine your commercial floors and driveways. To make your piece of concrete look immaculate, visit our website at Ultracoatingepoxyfloors.ca or email us for inquiry at [email protected].